


All my f**k ups
I made a plywood shelving unit recently that I am very proud of, but I also f**ked up a lot.


I present to you, the shelving unit. I had a lot of ambitions and ideas going into this shelving unit. Before it was replaced, we had about a 5’ tall 4 shelf bookcase from ikea in it’s place and this created a few problems.
The shelf was disproportionally tall compared to the workbench.
There was a weird gap on the workbench between the shelf and the wall.
There was wasted space on the other side of the shelf between the shelf and the door.
The shelves could not be adjusted and there was wasted space above the books on the shelf.
It didn’t match.

All this being said, there were a few things I wanted to do with the shelving unit I wanted to build.
I wanted to use sliding doors on the piece of the shelving unit that sat on the bench so that stuff could sit on the workbench in front of the doors and the stuff inside the shelf could still be accessed.
I wanted to have a continuous piece that went across the new shelf and the workbench with lots of room for plants.
I wanted to have fun with door handles.
I wanted most books to fit perfectly on their shelf.
I wanted adjustable legs to be added so that I could manage with uneven floors.
I wanted the depth of the shelf to be deep enough for my favourite ikea KNAGGLIG box (I can’t actually remember if I measured for this but it fits perfectly so I’ll take credit).
I wanted our printer to fit in the bottom section.
I wanted the shelf to perfectly fit the space, from wall to where the door opened to.
I wanted to be able to switch what side the workbench was on so the top and bottom are separate pieces and the width of this project is broken up into thirds where each third is the depth of the workbench.
A few specifications on the build.
3/4” maple laminated birch plywood for most of it.
1/2” baltic birch plywood for drawers and doors, mostly because I wanted to try using it but it’s expensive af.
1/4” birch plywood for the back.
Pocket hole screws for all the drawers and hidden horizontal supports.
Dowels for all the vertical supports.
Tongue and groove sliding doors.
Now let’s get into the f**k ups. I had a lot of fun with this build but it was also the first thing I built after the class I took in March and it took a loooong time. By the end, I was being hasty. This wasn’t an heirloom piece, it was functional, was looking pretty decent, and would already last long enough for this all to be worth it. And I think it’s fun to document what we messed up, not what went well.
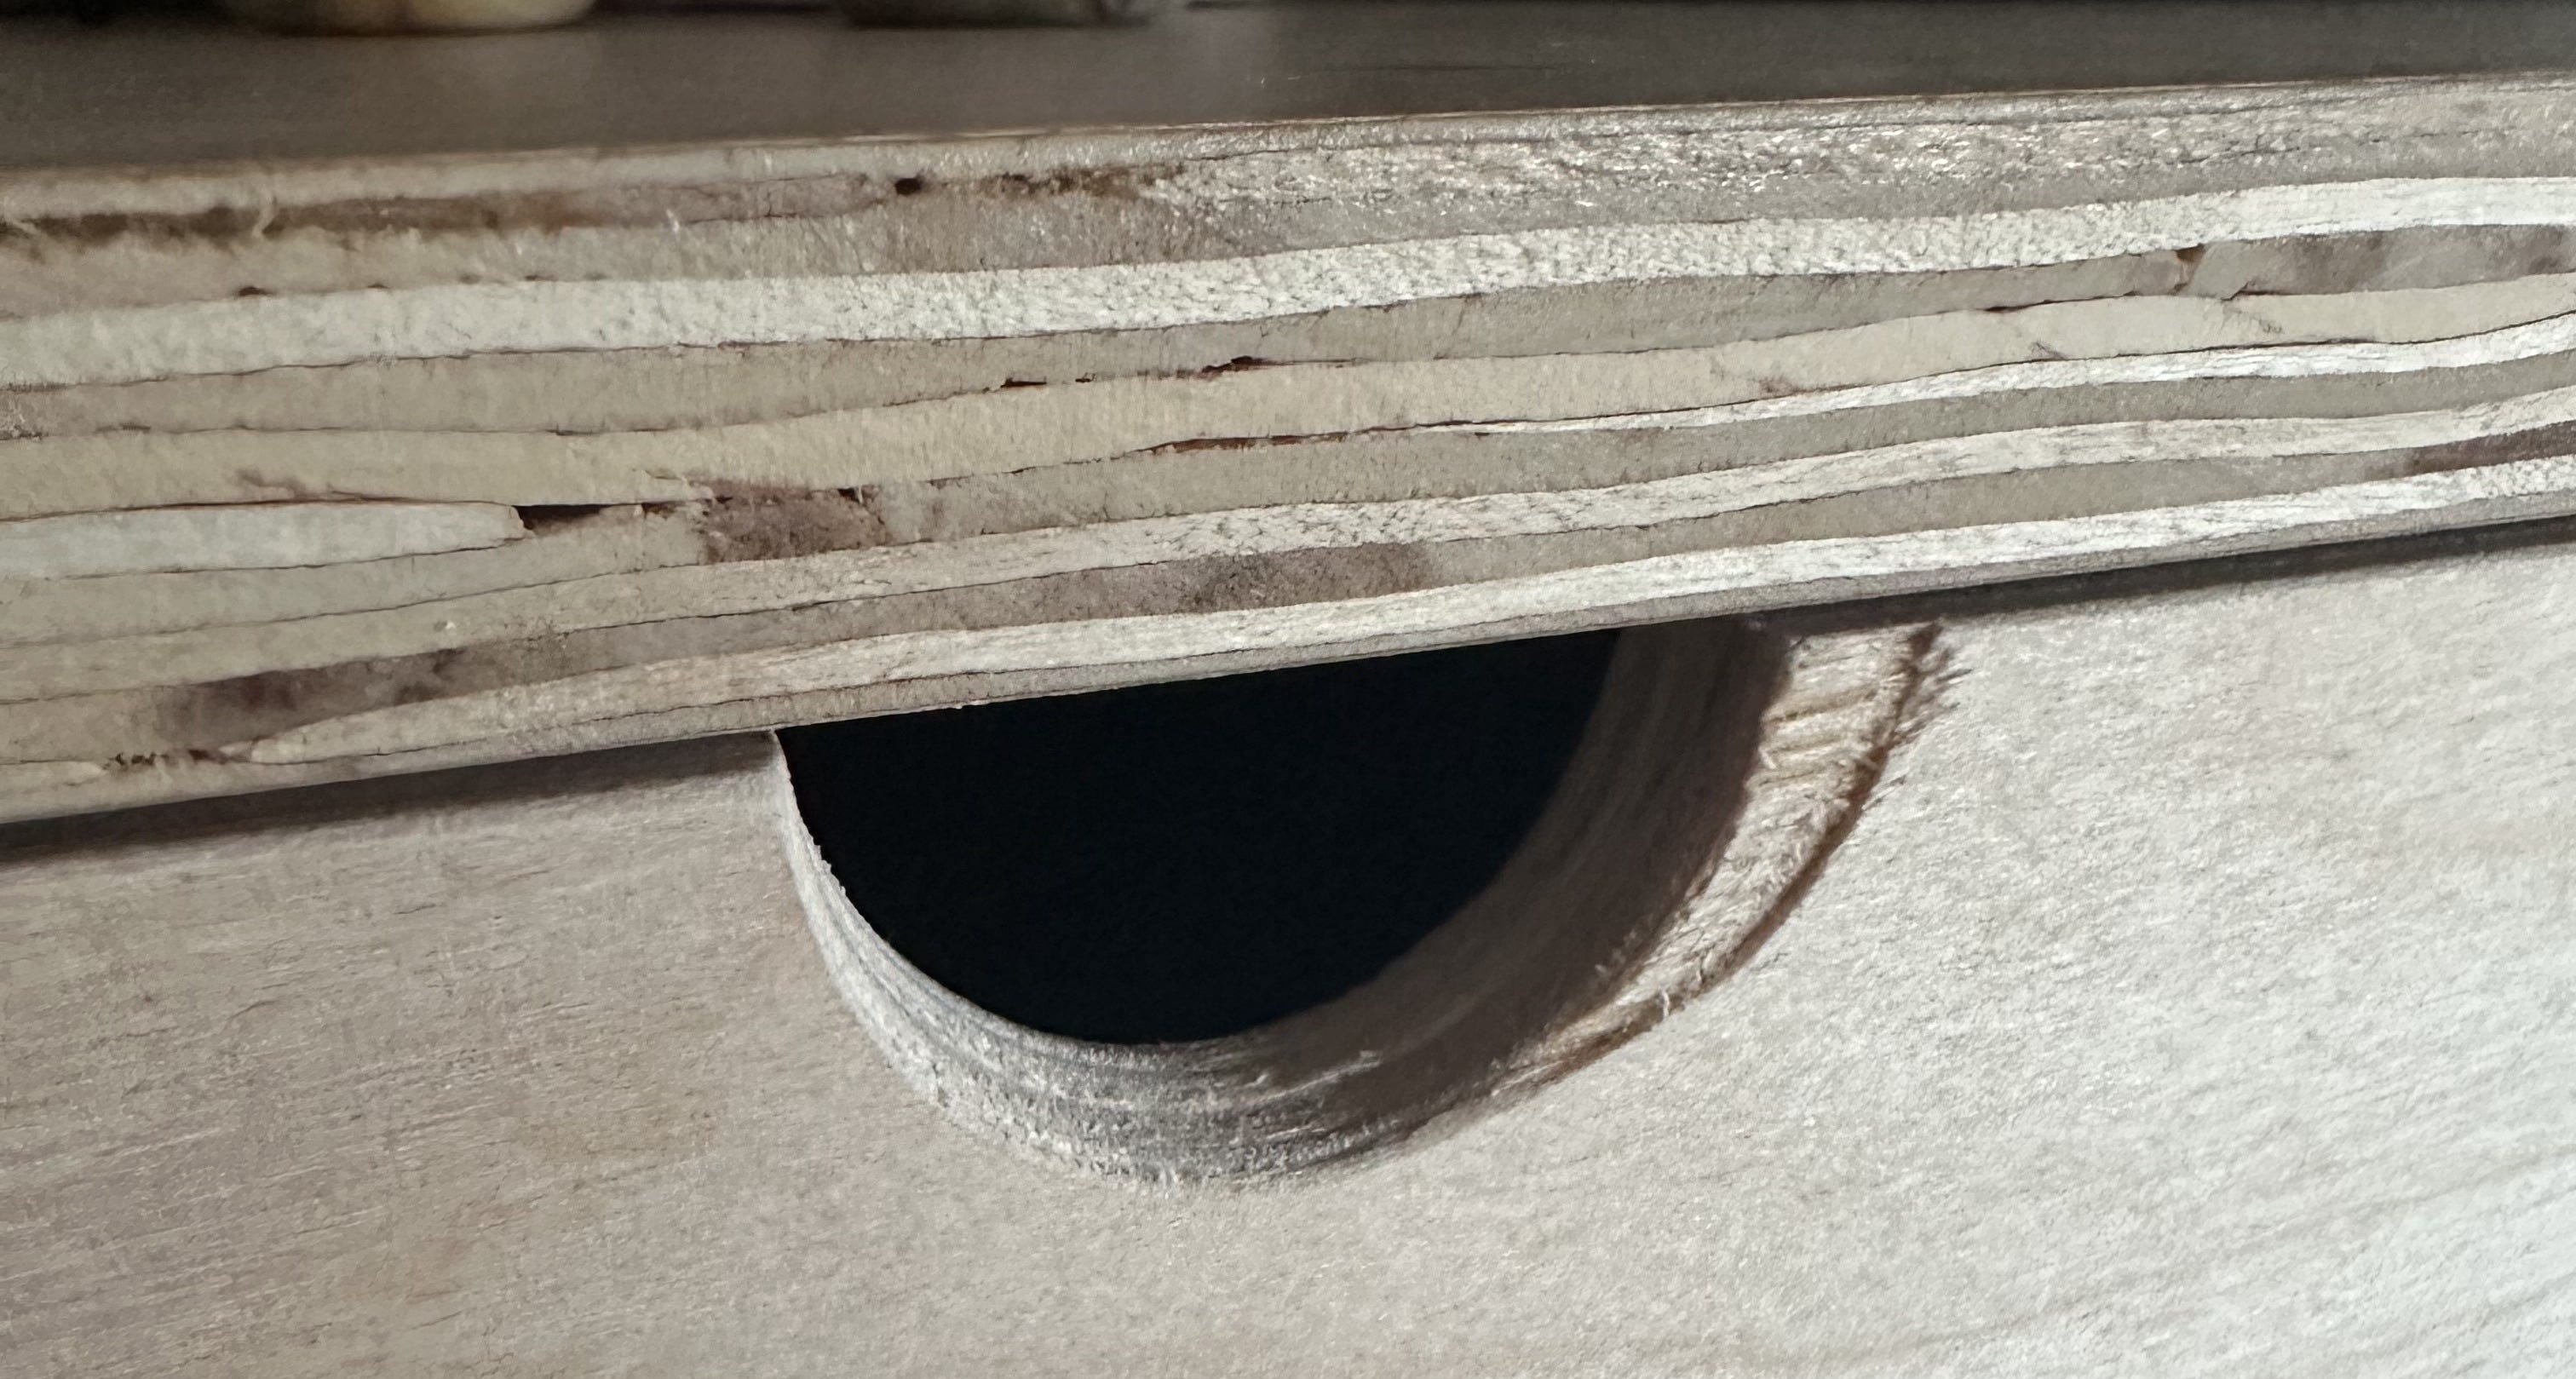
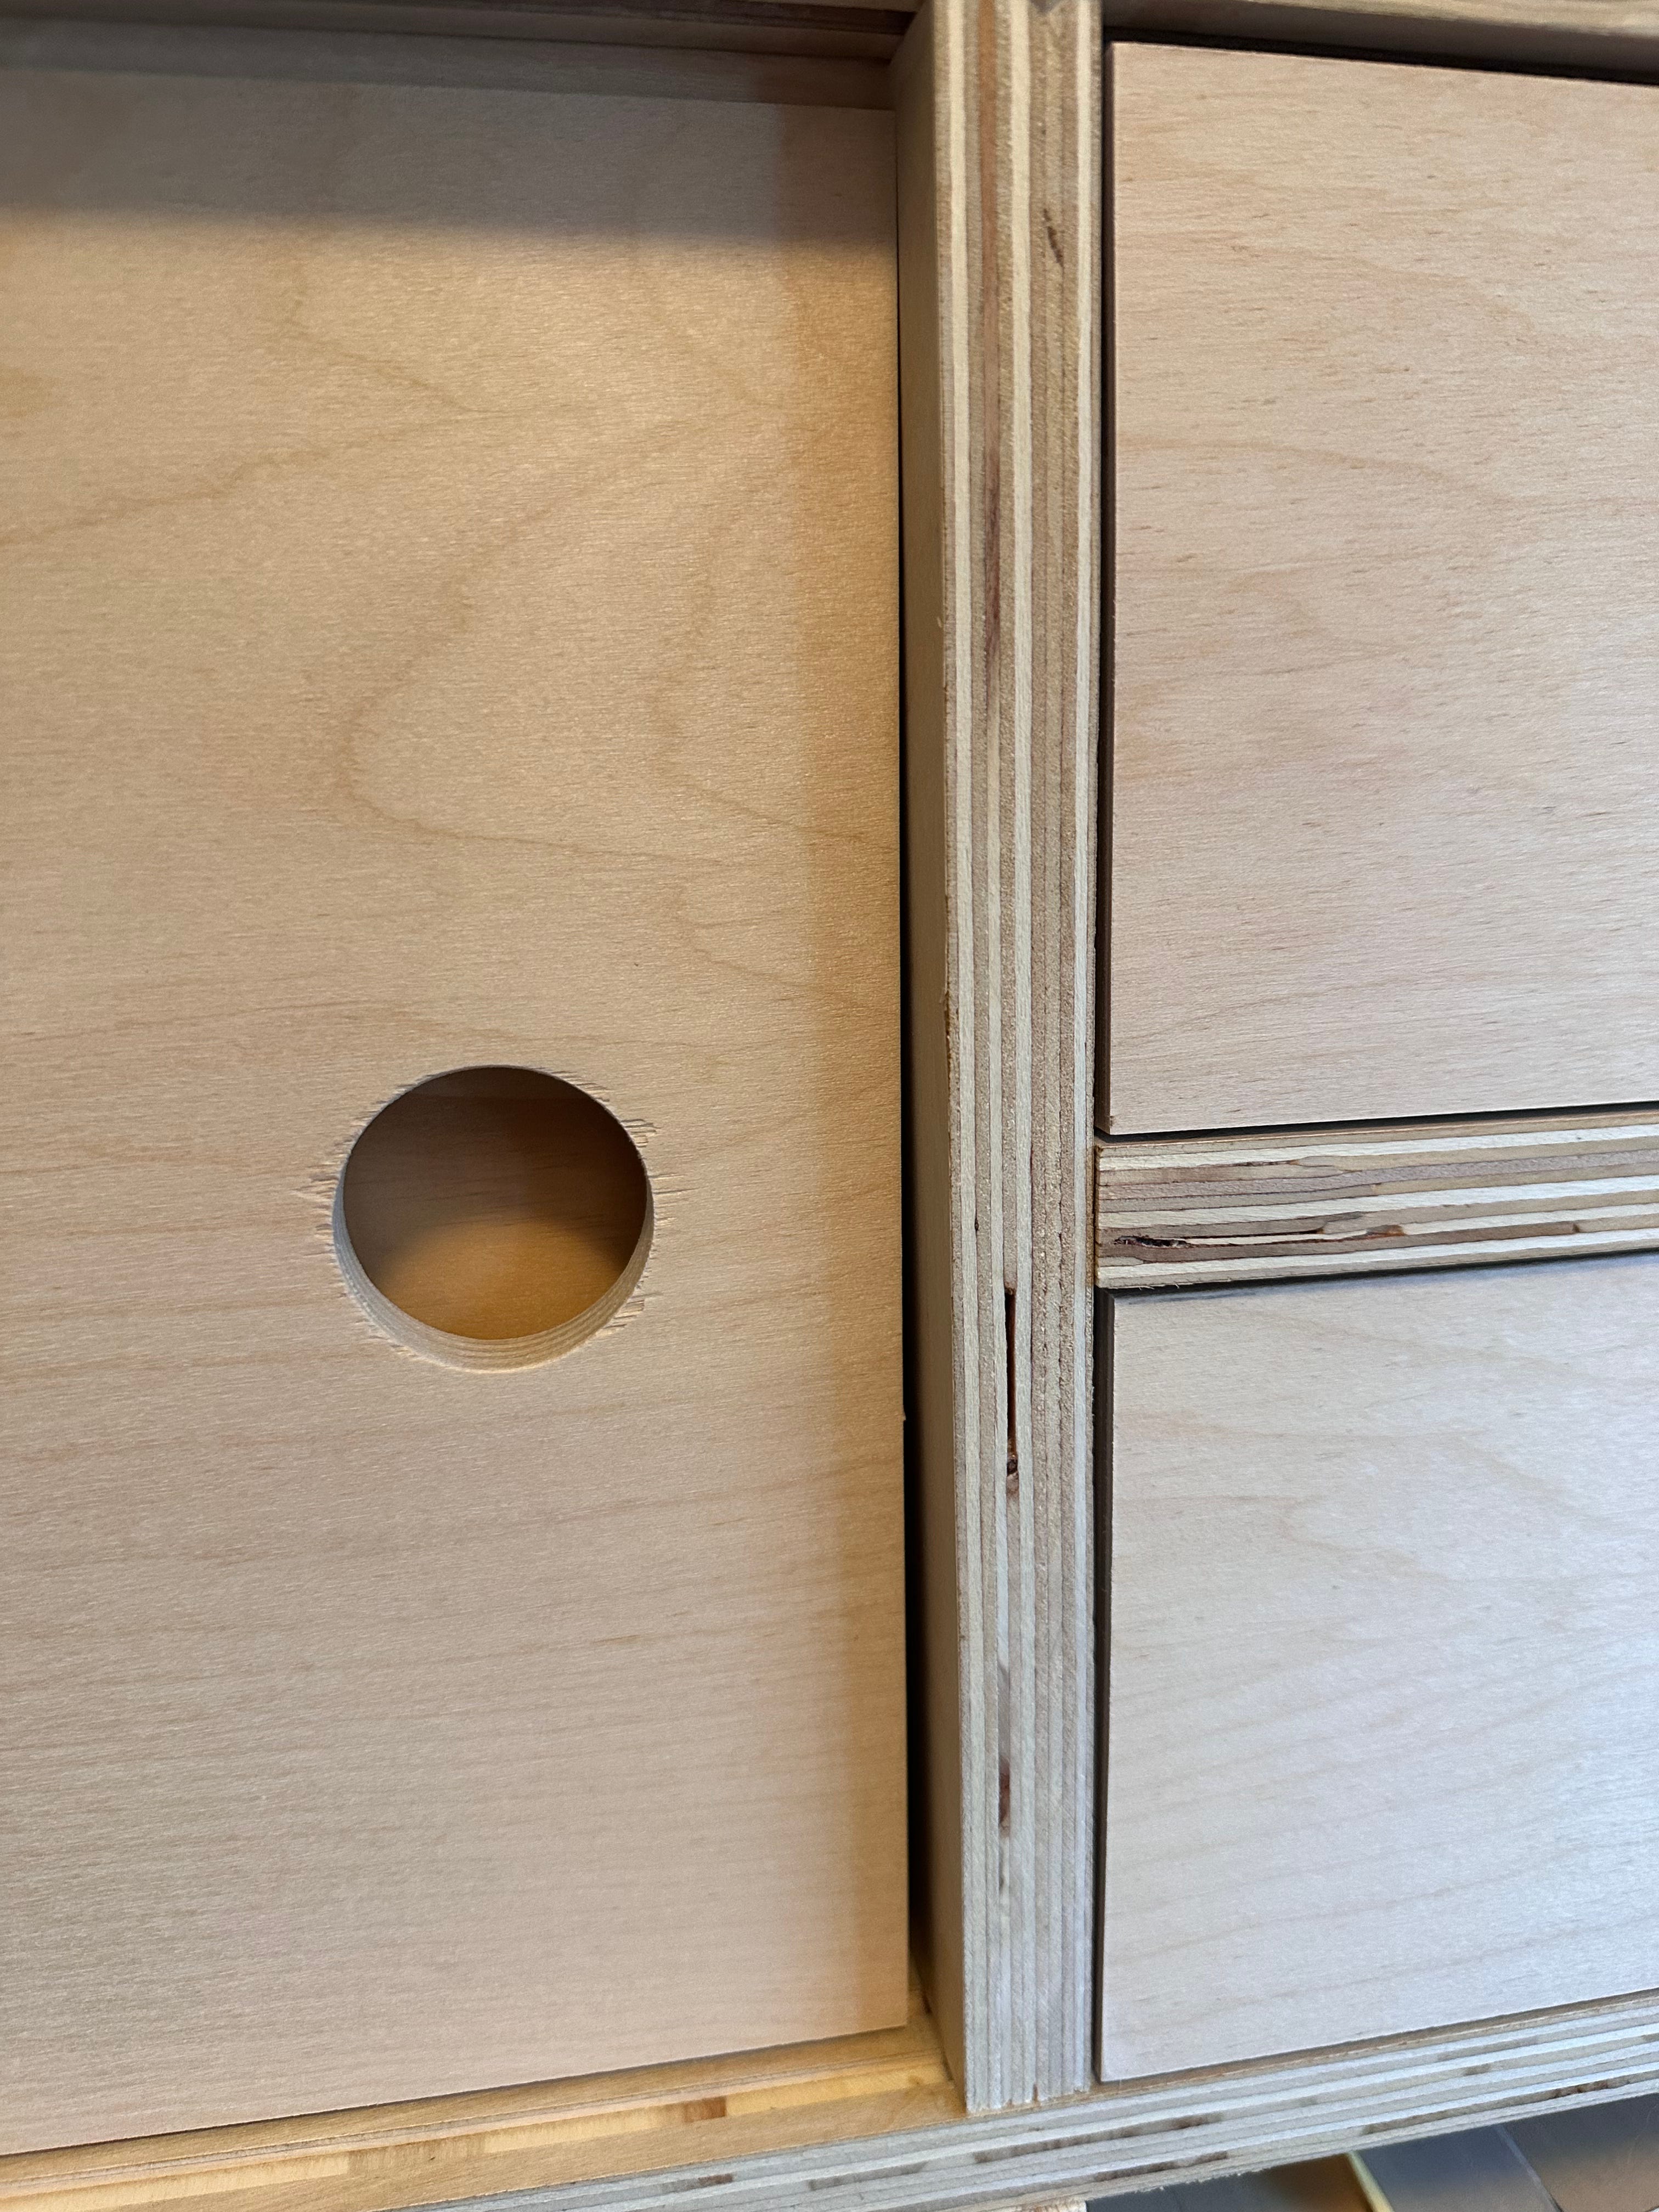
F**k up #1
Clamp your wood down. This was one of the last steps in the whole process and I was rushing to complete the project that day. Give your wood a good jiggle before you put a drill press with a wide bit down into it. The wood slipped the Forstner bit took a good chip out.
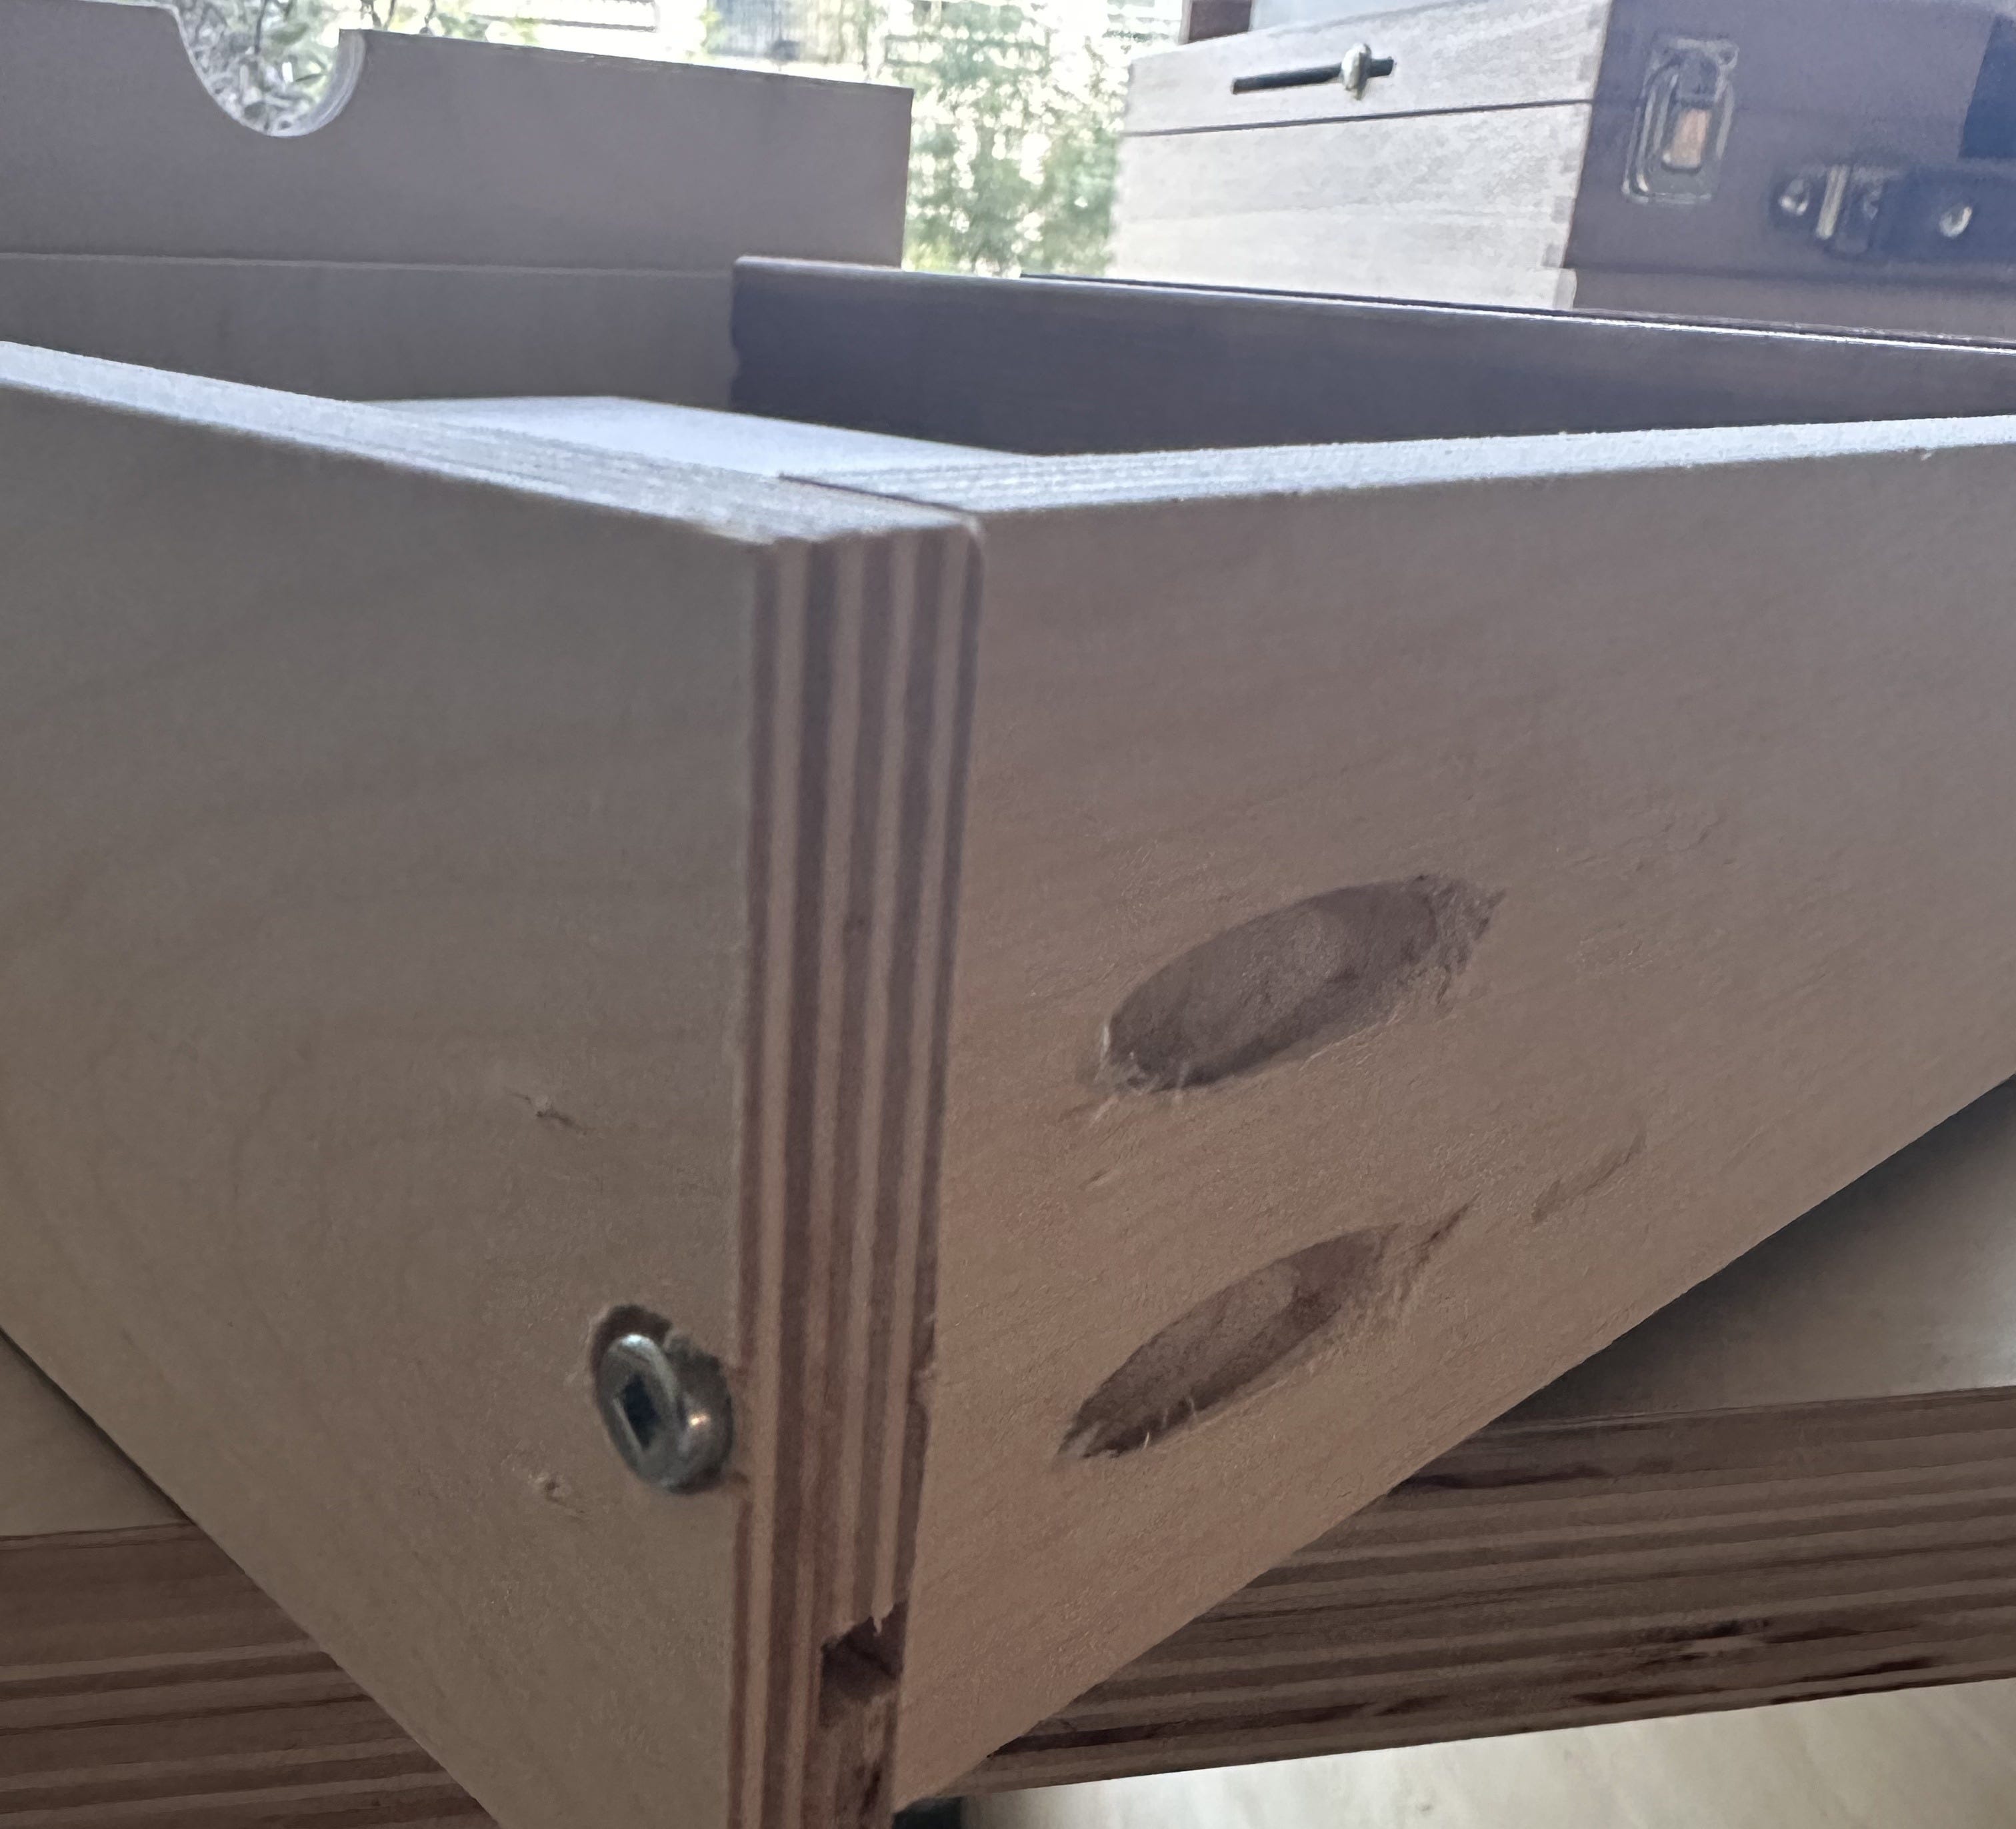
F**k up #2
Make sure your pocket hole drill bit collar is tight. The collar on my drill bit was starting to slip so my pocket holes were being predrilled a bit too deep. This means that the screws weren’t actually pulling the wood together so I had to add an ugly visible screw to keep the box secure. Granted, this was a borrowed drill bit and I didn’t actually thing I was supposed to adjust the collar but turns out it was loose.
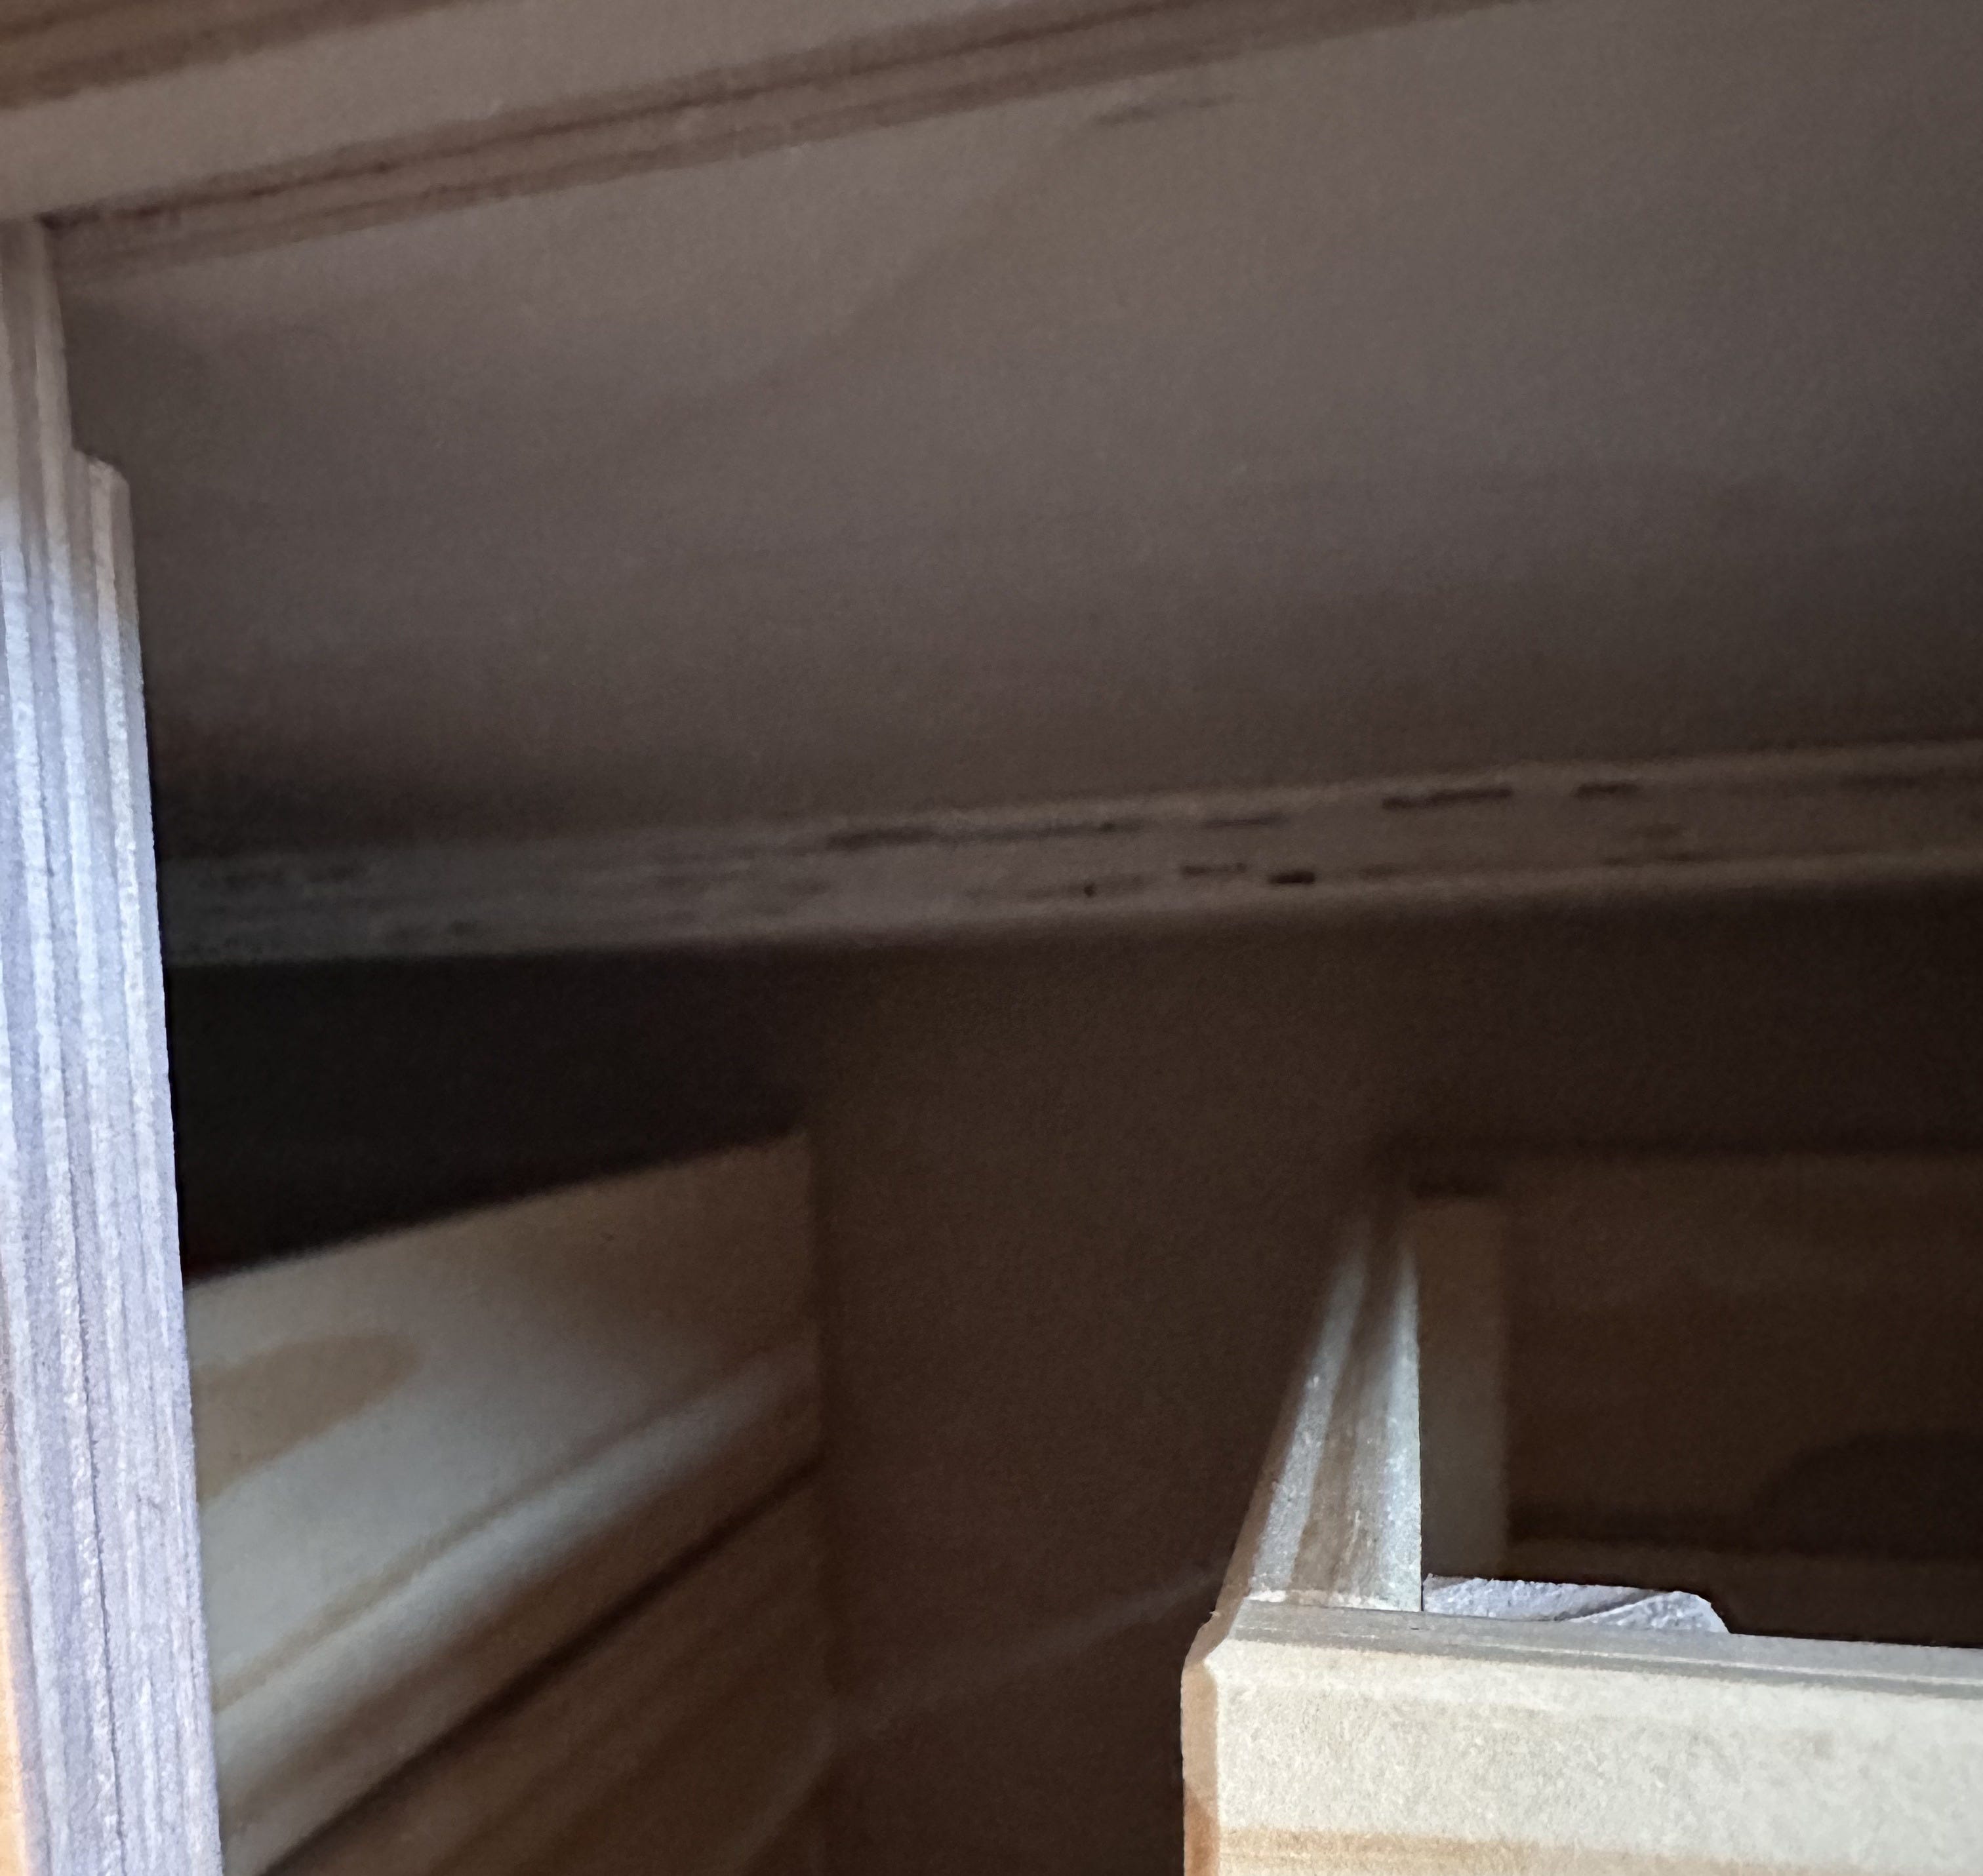
F**k up #3
Take your time. The actual final step I completed on this project was drilling the hole in the back panel for cords. I ordered a hole saw set to do this myself and only once I got it did I realize the drill I had could only use the smaller bits. But I really wanted the the project done so I started hacking. This is ugly but no one can see it and it works.

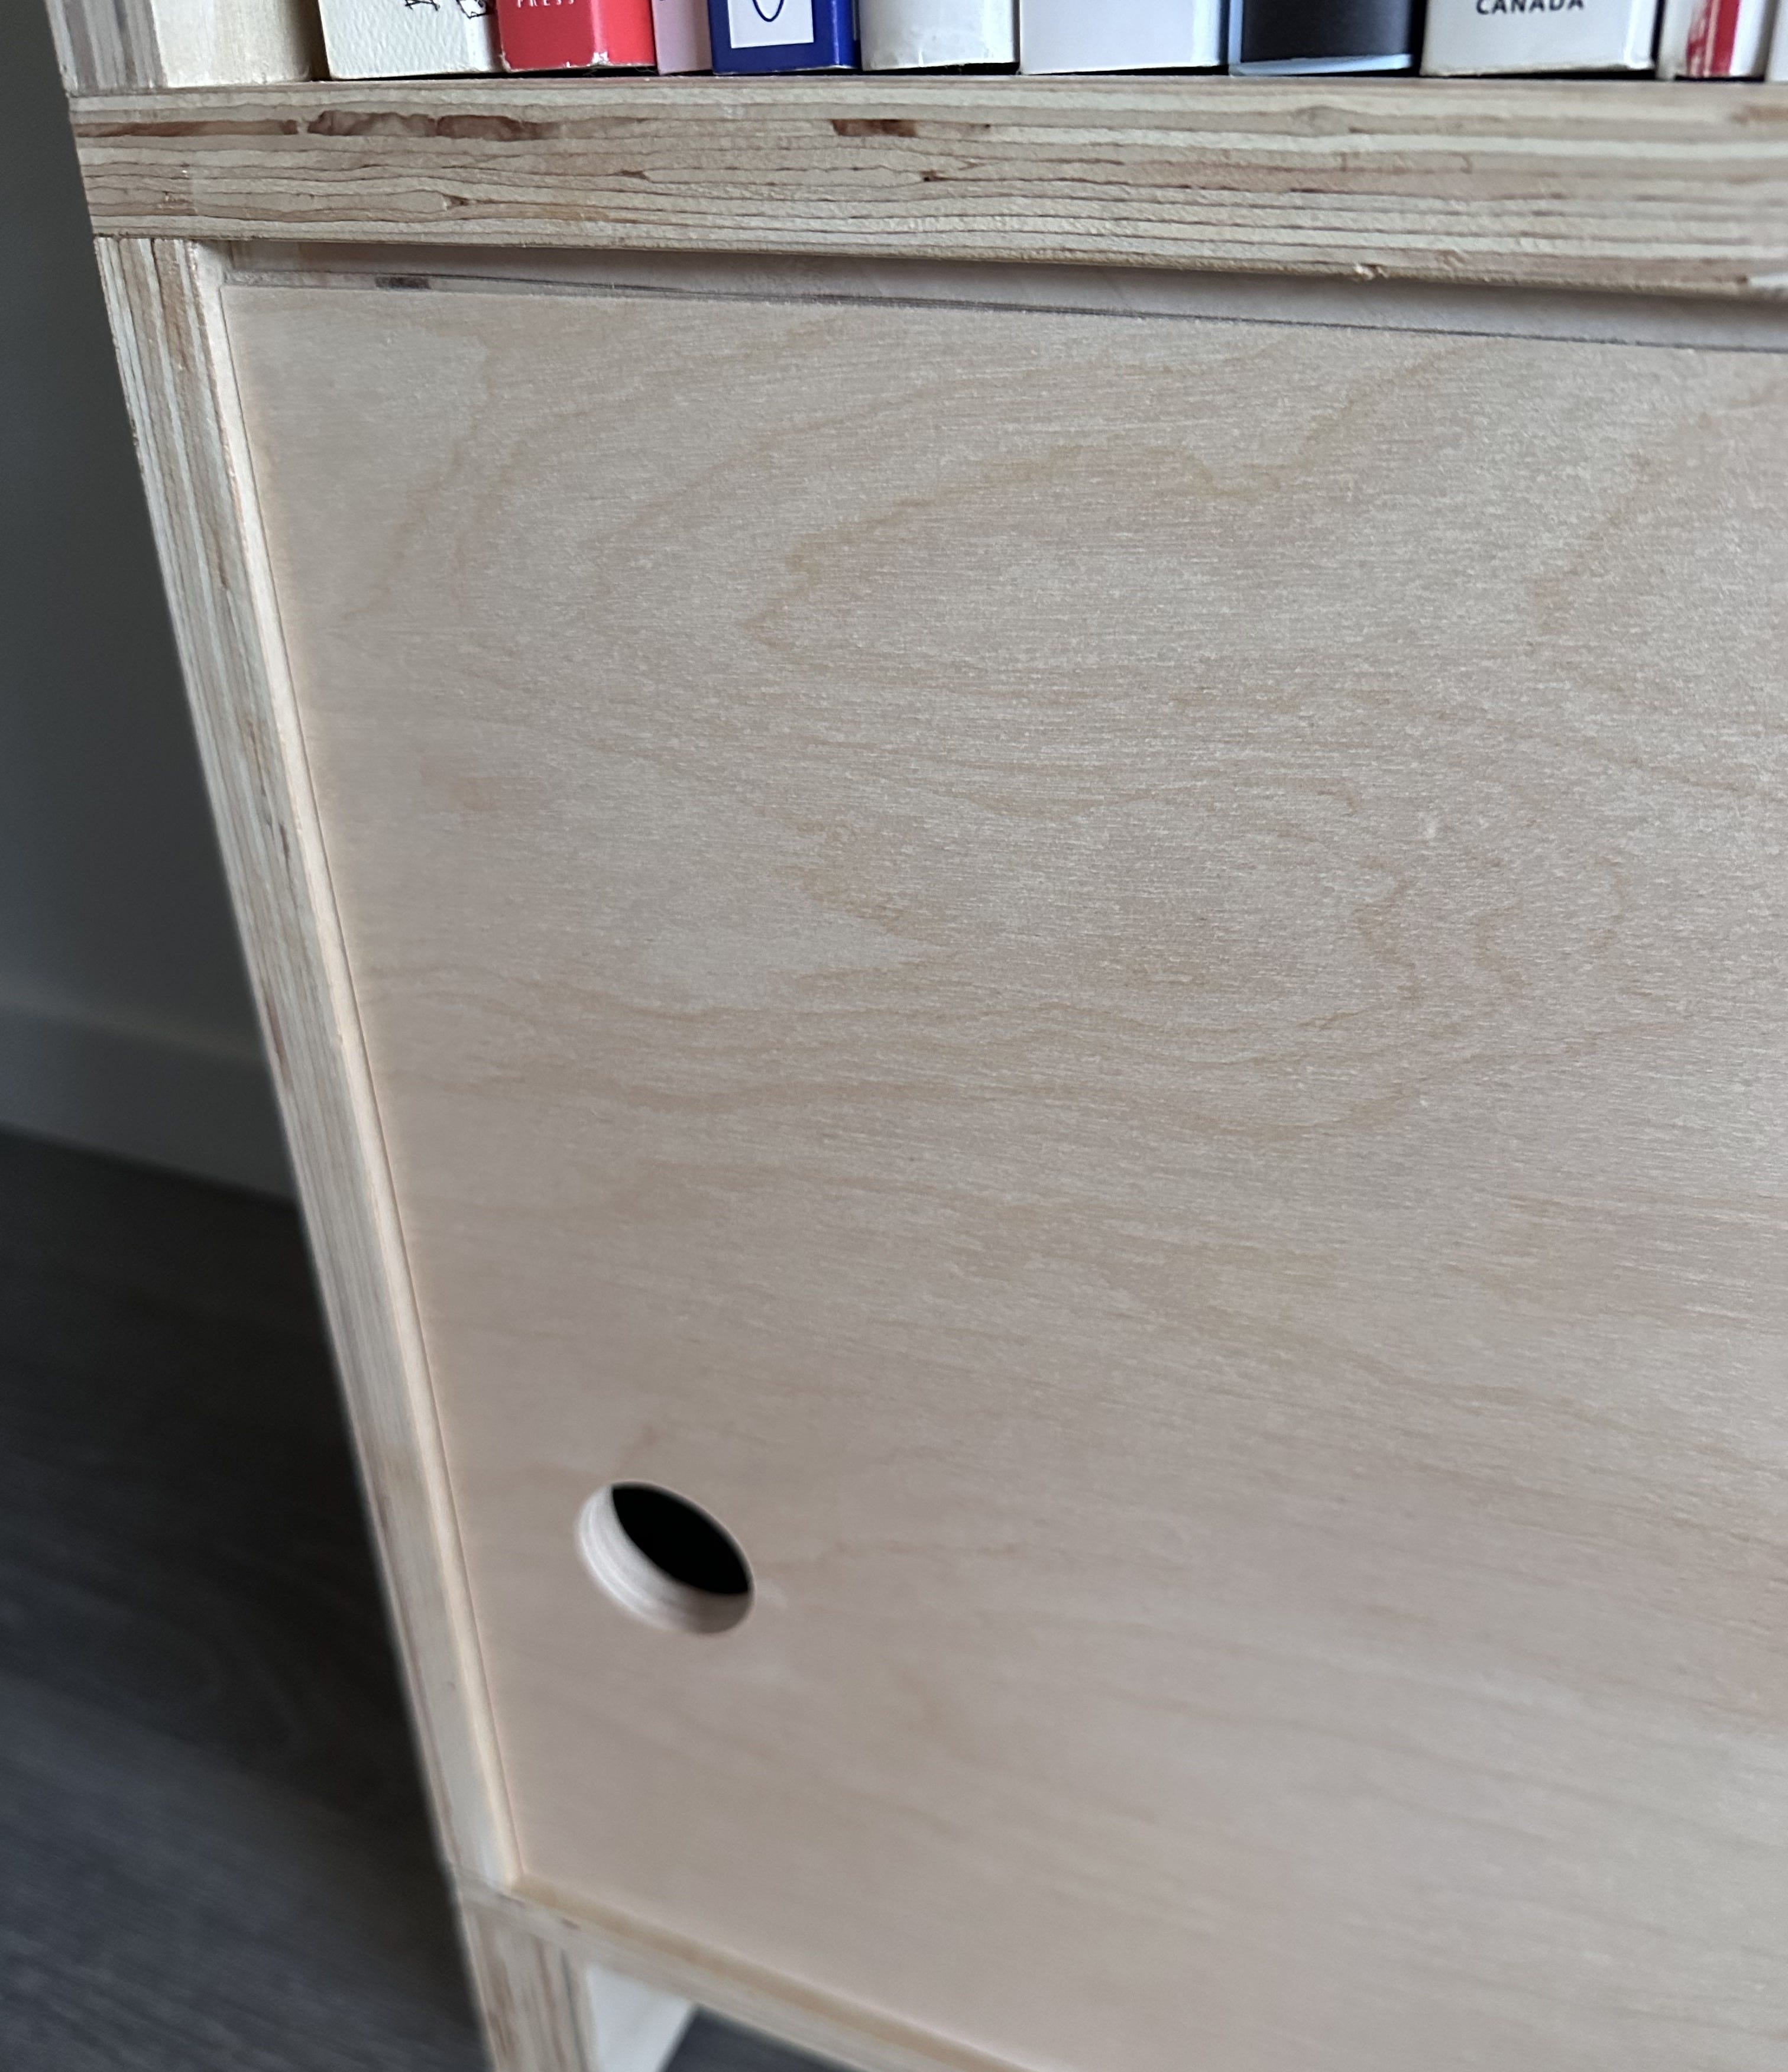
F**k up #4
Measure twice cut once? This one had to be in here. I intended on measuring these holes from the top but I managed to measure them all from the bottom. So now you just have to bend over lower to slide them open.
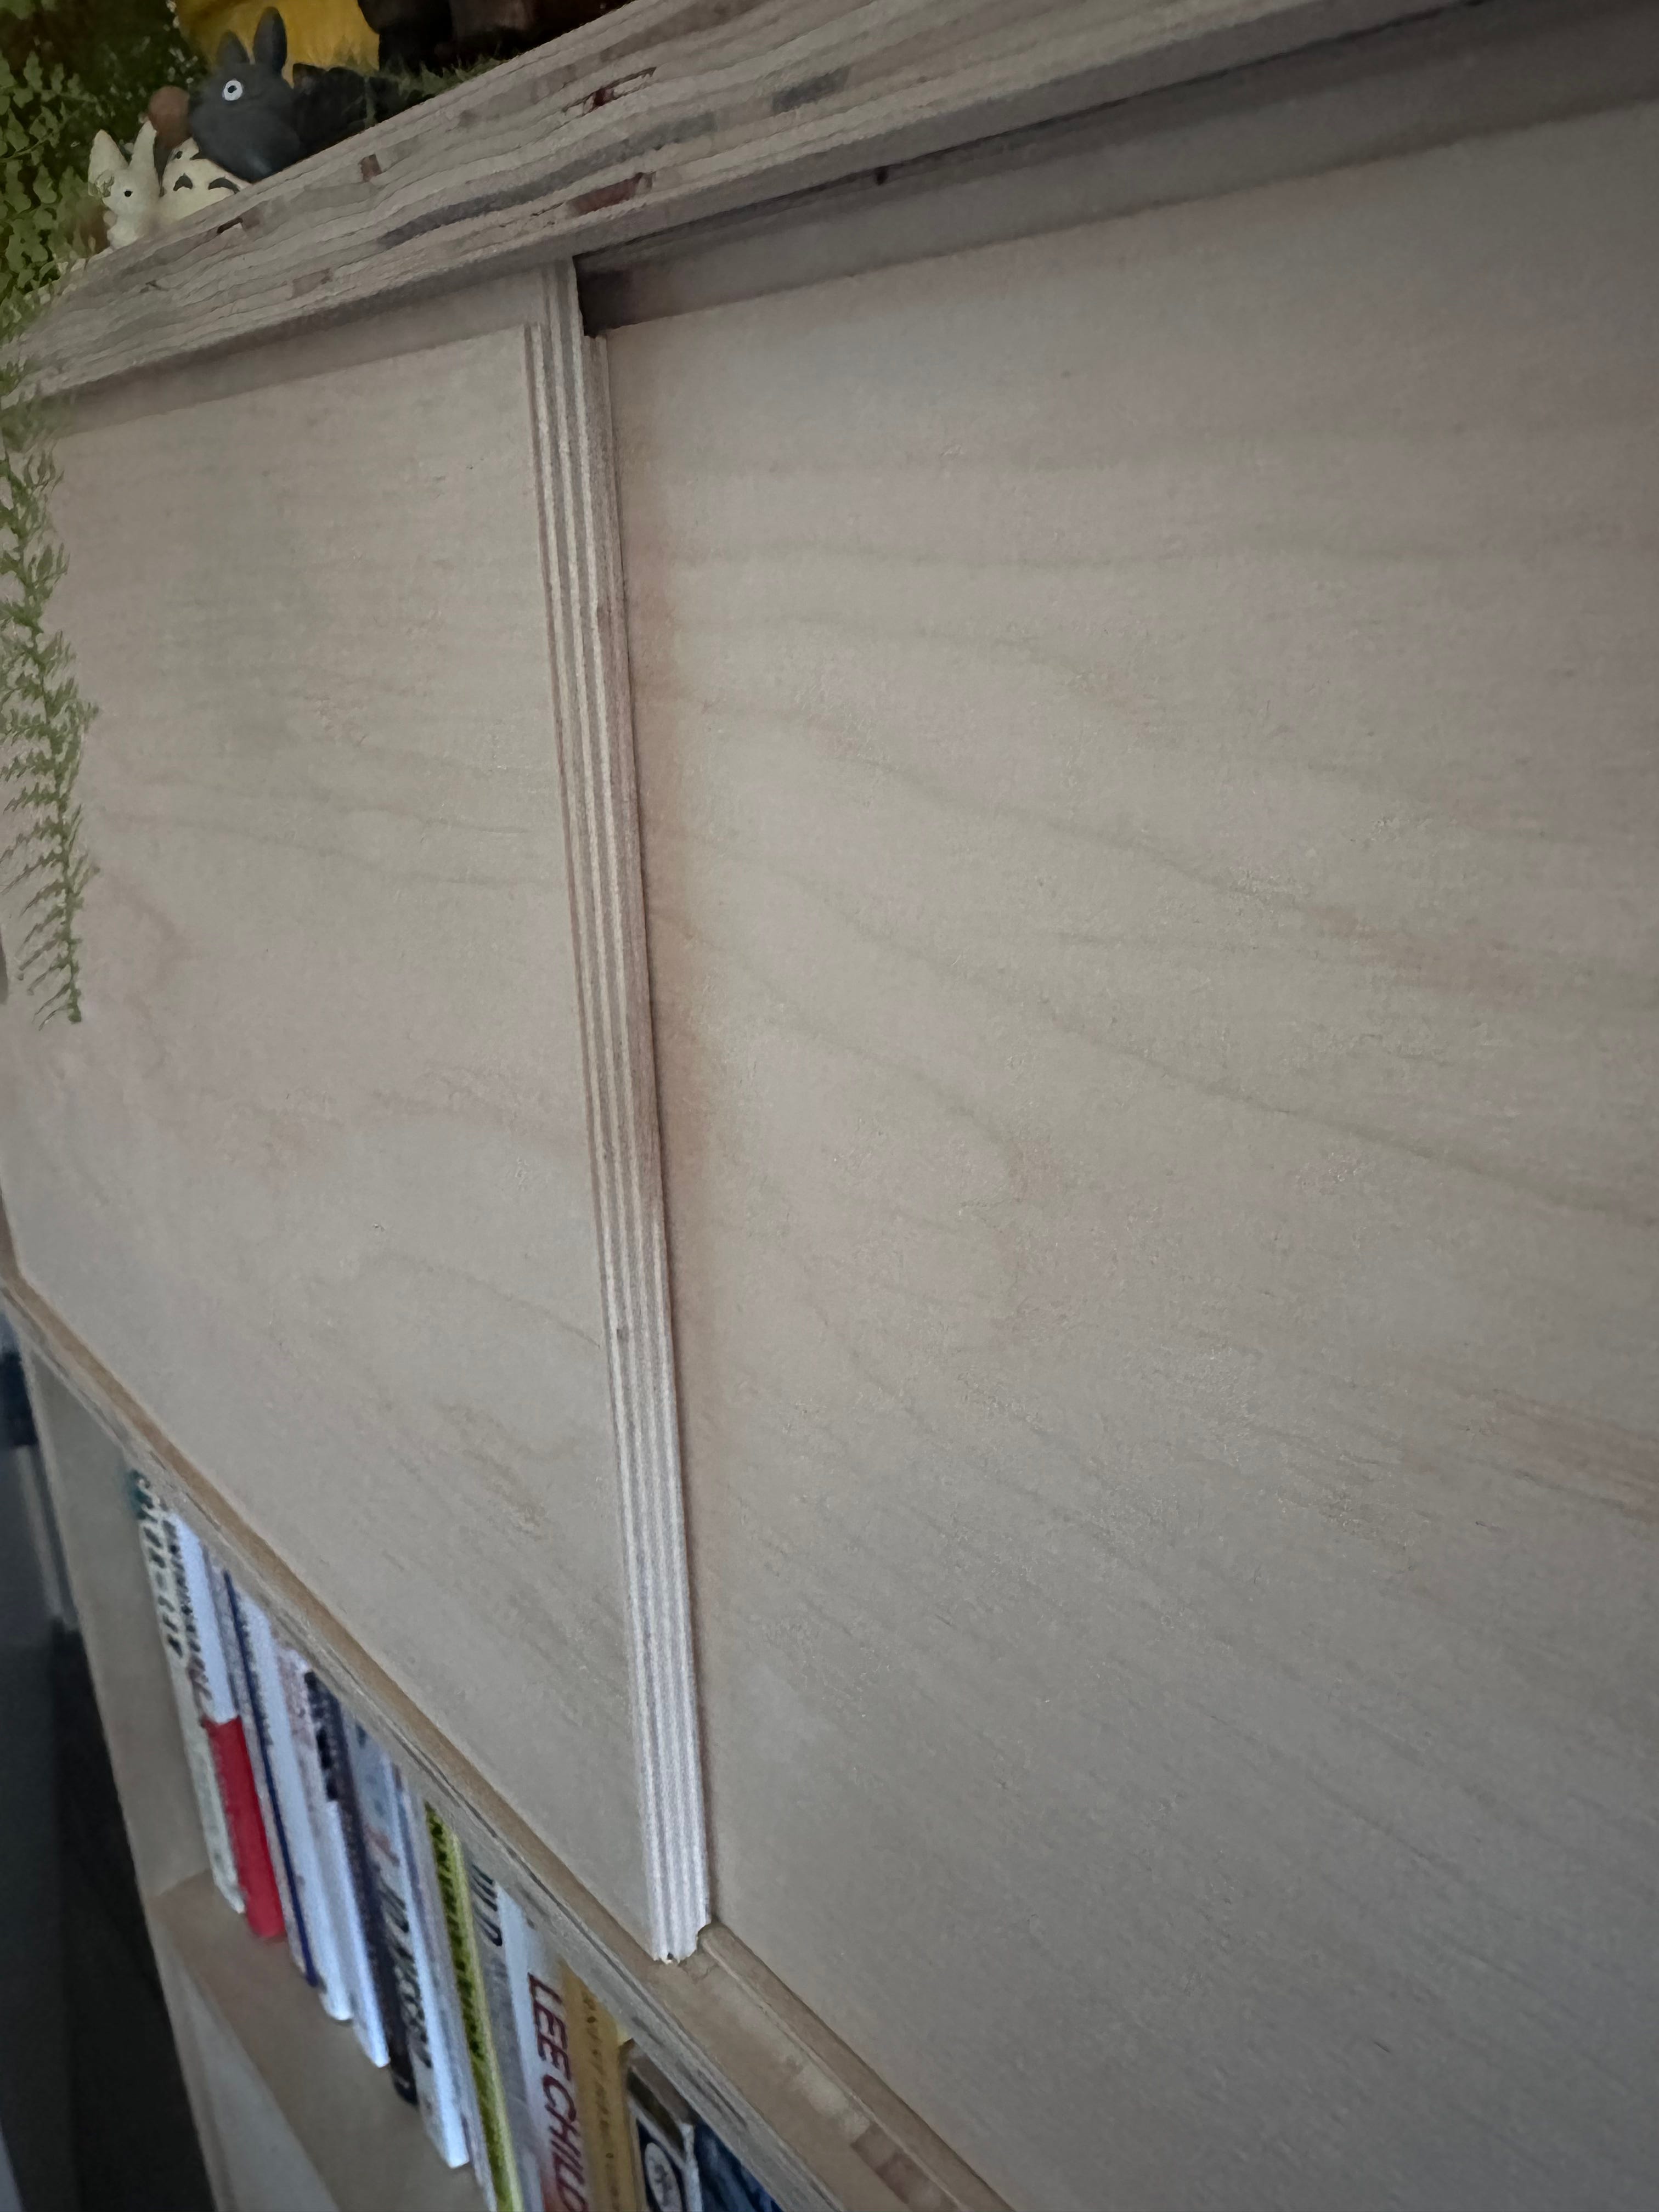
F**k up #5
When measuring for tongue and groove sliding doors, give yourself more wiggle room than none. I thought I measured for an 1/8” gap or even more between the doors but it turns out because my top and bottom aren’t perfectly aligned that my sliding doors are almost rubbing against each other. They still work but I had to sand 1/16” off of them to make them smooth.
F**k up #6
I’m not even sure this is a f**k up. This shit ain’t square but you can still use a belt sander or other tools to make it look square. All my drawer fronts are also not square but they do sort of look square.
F**k up #7
A 28” gap with 3/4 plywood is apparently pretty long. I ended up just adding some additional support in the back of each section to prevent warping in the future. We’ll see how it holds up.
F**k up #8
If you’re going to router a rabbet slot into your laminated plywood, score the plywood laminate so that it breaks off where it’s supposed to. Otherwise huge chunks of laminate and plywood are going to get ripped off your wood. There are other things you can use too like tape and you can also take small bits off with the router at a time. (No picture).
And that’s it, or most of it. I think in the future I plan on using baltic birch plywood for my projects. It’s expensive but for the time I put into this thing I think it would have been worth it. The laminate on the plywood splintered off with various steps which was annoying. And the baltic birch has zero or very few voids which looked really good. If you want me to make a shelf for you, let me know. I will at least f**k up 8 less times than I would have if I didn’t do this first.